HEADS UP - All physical product shipping is on hold until mid-June!

January 17, 2022

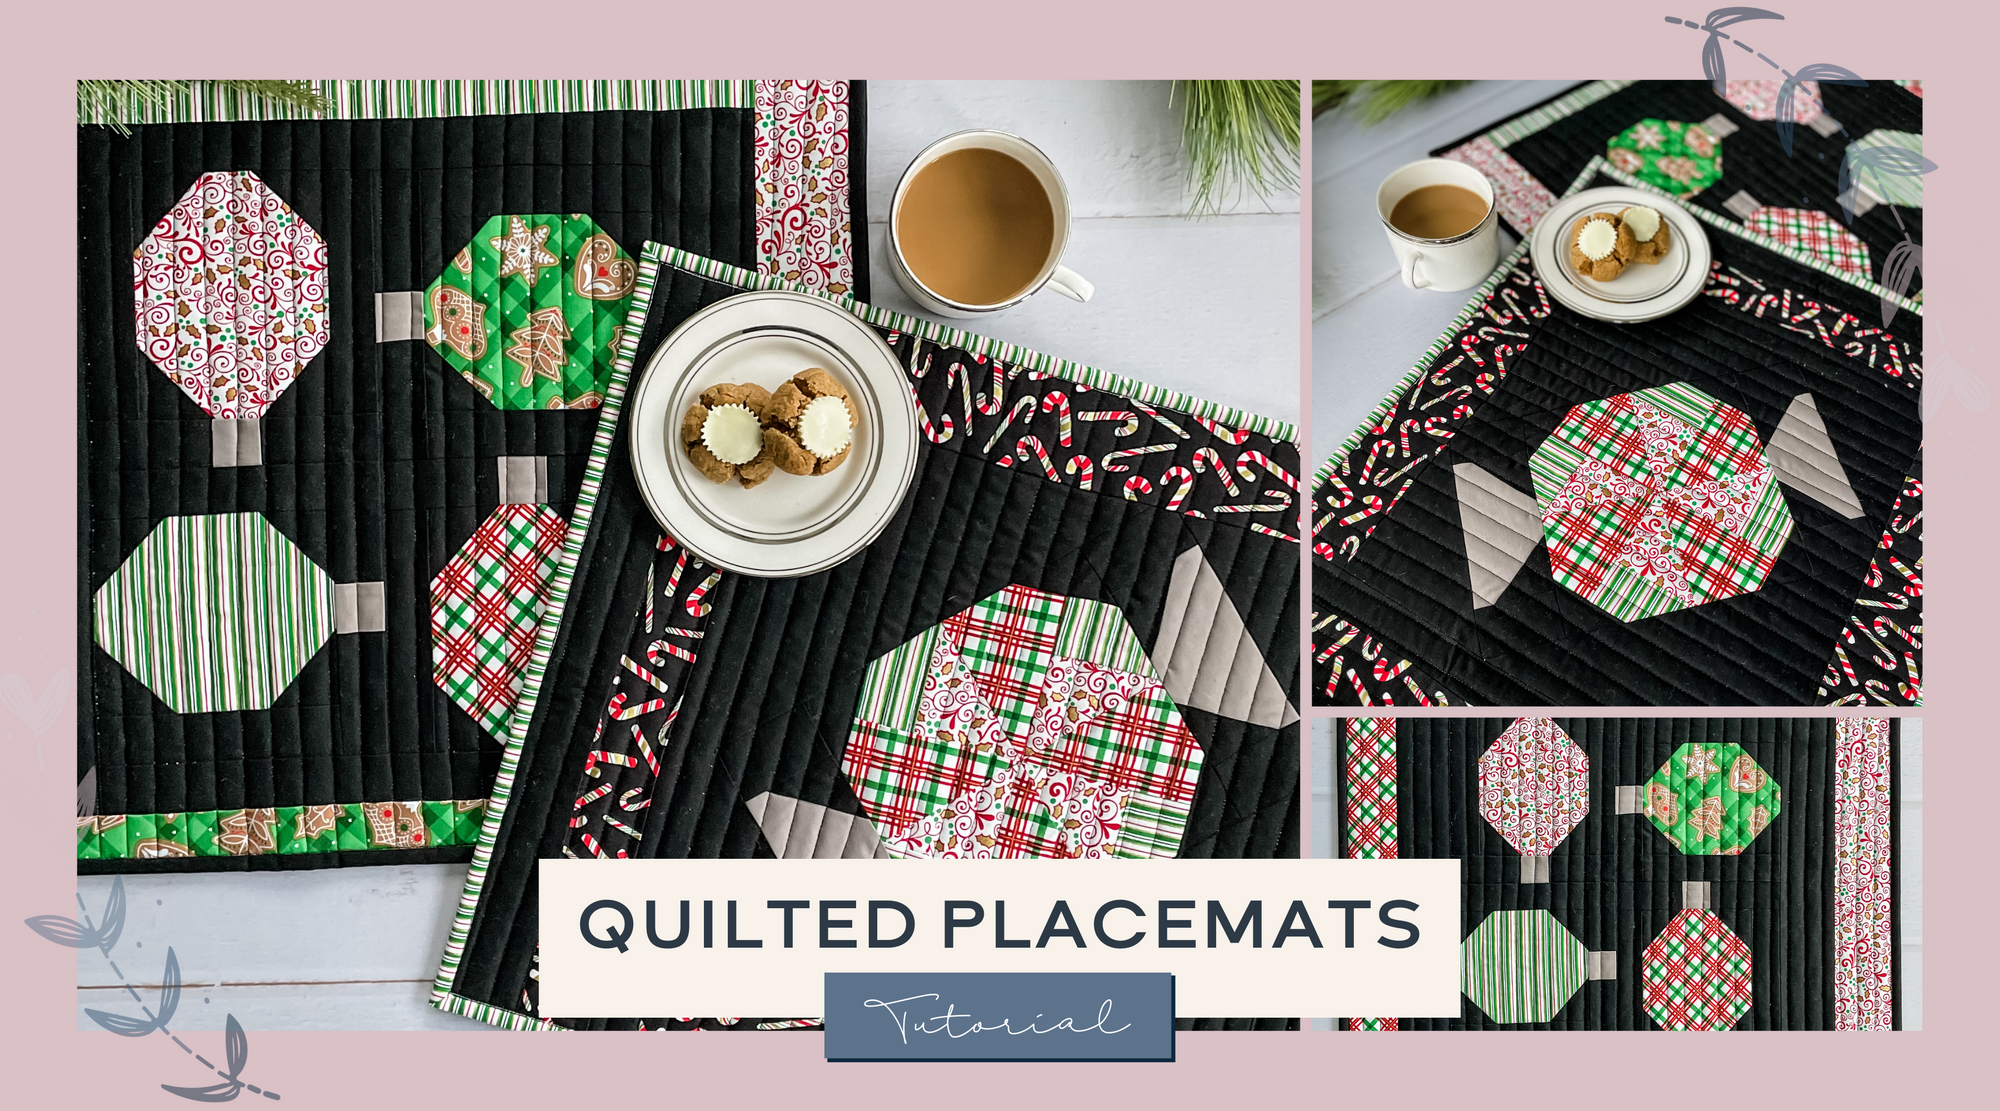
Quiltmas is over, but the fun continues! I whipped up these quick placemats to show off my two Quiltmas blocks.

Quilted Placemat Tutorial by Julie Burton of Running Stitch Quilts

Placemats are a great option if you don't want to make a full quilt and want to make a quick project instead. Didn't participate in Quiltmas? No worries, your favorite 12.5"x12.5" (unfinished) block will work instead!

Couple housekeeping things: I like bigger placemats so these finish at 16" x 20". The listed supplies make ONE placemat. I easily used my leftover scraps, but a couple coordinating FQs plus background fabric will work too!

Quilted Placemat Tutorial by Julie Burton of Running Stitch Quilts

Supplies:

  • 12.5" x 12.5" unfinished block
  • 2 - 4 coordinating FQs (I used my leftover fabrics and scraps)
  • 17" x 21" piece of batting (regular cotton batting works fine, but I had left over Insul-bright that I used for my placemats)
  • FQ or 18" x 22" for backing
  • (2) 2.5" x WOF strips for binding

Sewing Instructions:

For Placemat A, use the following diagram:


For Placemat B, use the following diagram:


Quilted Placemat Tutorial by Julie Burton of Running Stitch Quilts     Quilted Placemat Tutorial by Julie Burton of Running Stitch Quilts

To finish your placemats:

  • Make a quilt sandwich by layering the backing fabric (right side down), batting or insult-bright, and placemat top
  • Baste using preferred method
  • Quilt - I quilted vertical lines approx 3/4" apart.
  • Use 2.5" WOF strips to bind
  • Enjoy!

    These are super quick to make. I made both versions from start to finish in an afternoon. Have fun!

     
    Quilted Placemat Tutorial by Julie Burton of Running Stitch Quilts