HEADS UP - All physical product shipping is on hold until mid-June!


Welcome back to the Hurrication QAL!
We made it to the last week! This week is all about assembling your quilt top.
Let's get started. :)
If you are making a scrappy or ombre layout, figuring out the layout takes a bit more time and consideration. I go into more depth about the ombre version in this blog post, but when I'm planning a random, scrappy layout, I like to just get all of the blocks onto the design wall (or laid out on the floor). From there, I move blocks around until the lights/darks are balanced. I try not to have the same fabric in two blocks right next to each other if possible, but that's just a personal preference.
When I'm happy with the layout, the final step before sewing the rows together is to take a black and white picture. This helps to see the value of the fabrics and it is easier to catch if there is a too dark or too light area.

I've mentioned this before, but I rarely use pins when piecing my blocks. That being said, I always use pins when piecing my rows. Pinning helps keep the rows straight and the seams aligned. For this quilt, I put a pin at each intersection and each triangle point.

When putting the rows together, I sew them together in pairs, then sew the pairs together. This helps keep everything straight, in order, and easier to handle the bulk on my sewing table.

That's it!!

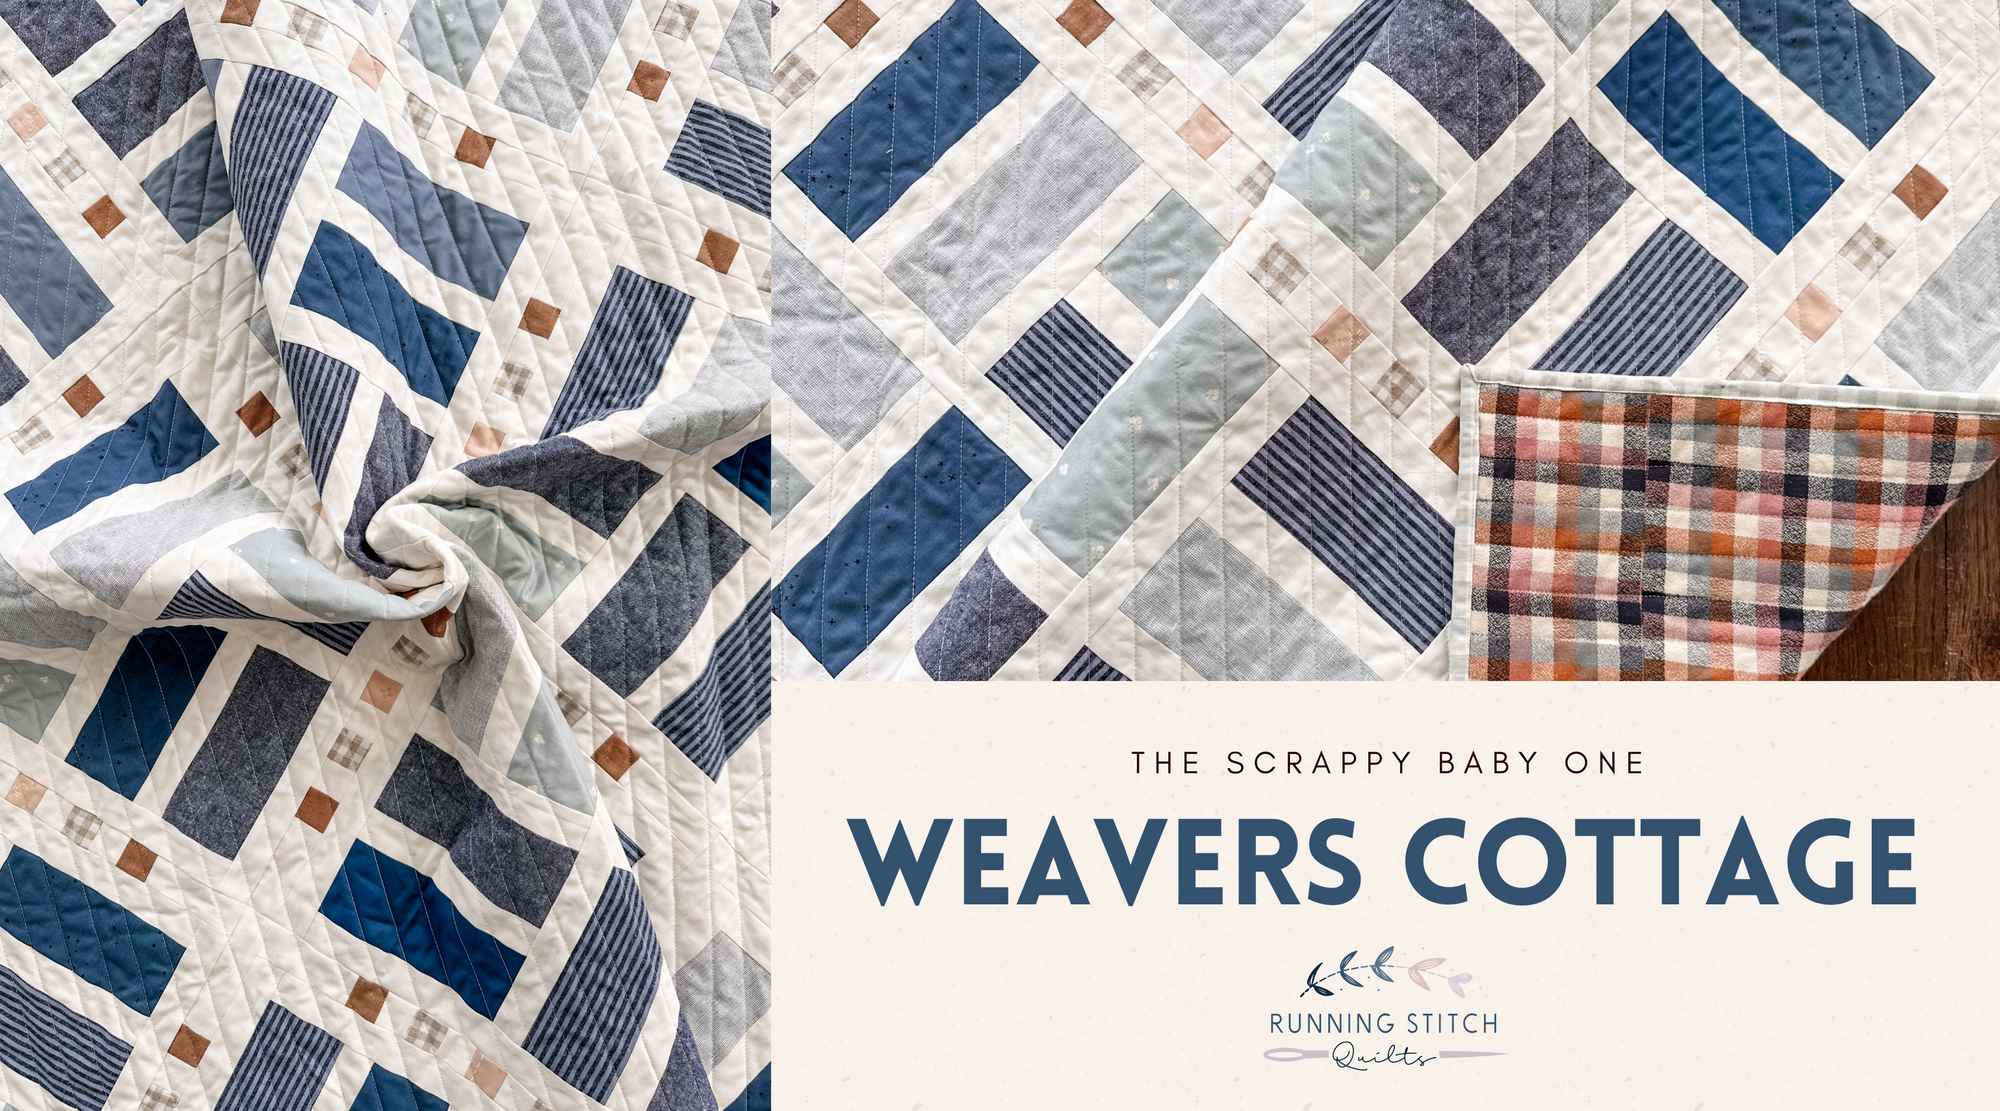
I am obsessed with how mine turned out. I love every single thing about it. :)
My cover quilt was long arm quilted with the edge to edge pantograph, Mike's Swoosh. I loved the swirly effect of the quilting that played into the hurricane theme.
My ombre quilt was quilted on my domestic machine with straight lines that are approximately 3/4" apart. I don't personally free motion quilt, so if I'm quilting something myself, I usually go for straight lines.
Other edge to edge pantos I considered were Modern Curves and Echoed Swirls. I think either of those would have worked well.
If I were to quilt another one myself, I think a diagonal lines following the background fabric would look nice! Or, keep it simple and stitch in the ditch. :)
Now, onto the PRIZES!
Jill of J. Coterie is giving away free long arming services (up to $250) and will offer 20% off on any quilt you send in to her! Jill has quilted most of my cover quilts and I think she does excellent work! I love sending my quilts to her. Sign up for Jill's newsletter here!
AND
Rachel of Saltwater Fabrics is giving away a $50 gift card to her shop! Rachel puts together some of my favorite quilt kits and bundles.
To enter in the giveaway:
– Share your progress on instagram using the hashtag #hurricationqal and #rsqpatterns. (Your Instagram account must be public or I won't be able to see it.)
– Sign up for Jill's newsletter :)
I will randomly pick one winner on Sunday night and announce it in next weeks email newsletter and in my IG stories!