HEADS UP - All physical product shipping is on hold until mid-June!

Half Square Triangles (HSTs) are the most basic of quilt blocks. It is one of those buildings blocks in quilting. Once you master this one, it opens up a whole new world of blocks to make. I’m just guessing here based on my own experience, but it is probably one of the first quilt blocks attempted after a 4-patch.
There are many, many ways to make an HST. They can be made 1 at a time, 2 at a time, 4 at a time, 8 at a time, on a roll, with the perfect HST paper method, etc. Today, I’m going to focus on the 4 at a time method because it is the method I used to make HSTs in my two latest quilt patterns (Eternally Yours and Square Burst).
The upside to this method is that it makes 4 HST at a time. The downside is that it yields units with bias edges which make the blocks more prone to stretching and distortion. But, don’t let that scare you. That is nothing a little starch and light handling can’t solve.
An HST is two right triangles of contrasting colors/fabrics in a square. Because the final result is a square, these can be made in any size needed. The handy reference sheet includes a chart with common sizes and the math formula if you want to calculate your own.
To get started, you need your two contrasting fabric squares, a rotary cutter, and pins (if you use them).

Take your squares and place them right sides together. You can pin them in place if you would like, but I find that I don’t need to.

Sew a 1/4” seam down one edge. Tip: I like to chain piece these by sewing the first edge of all units at a time.

Sew a 1/4” seam down the second edge. I like to sew the opposite side next. I have found that it helps prevent the top square from shifting. (I should have used a contrasting thread that was easier to see, but I didn't think about it until this very moment.)

Continue sewing a 1/4” seam around the remaining edges.

I sew all the way to the edges so my seams overlap at the corners. This is a non-issue once you cut it apart.

When all 4 sides have been sewn together, it’s time to head to the cutting table. If you have a rotating cutting mat, it is especially helpful in this step. Line up your ruler from corner to corner and make a cut.

Before moving the pieces, rotate your mat (or carefully rotate the squares) to make another cut from the opposite corners like shown.

You now have 4 HST units!

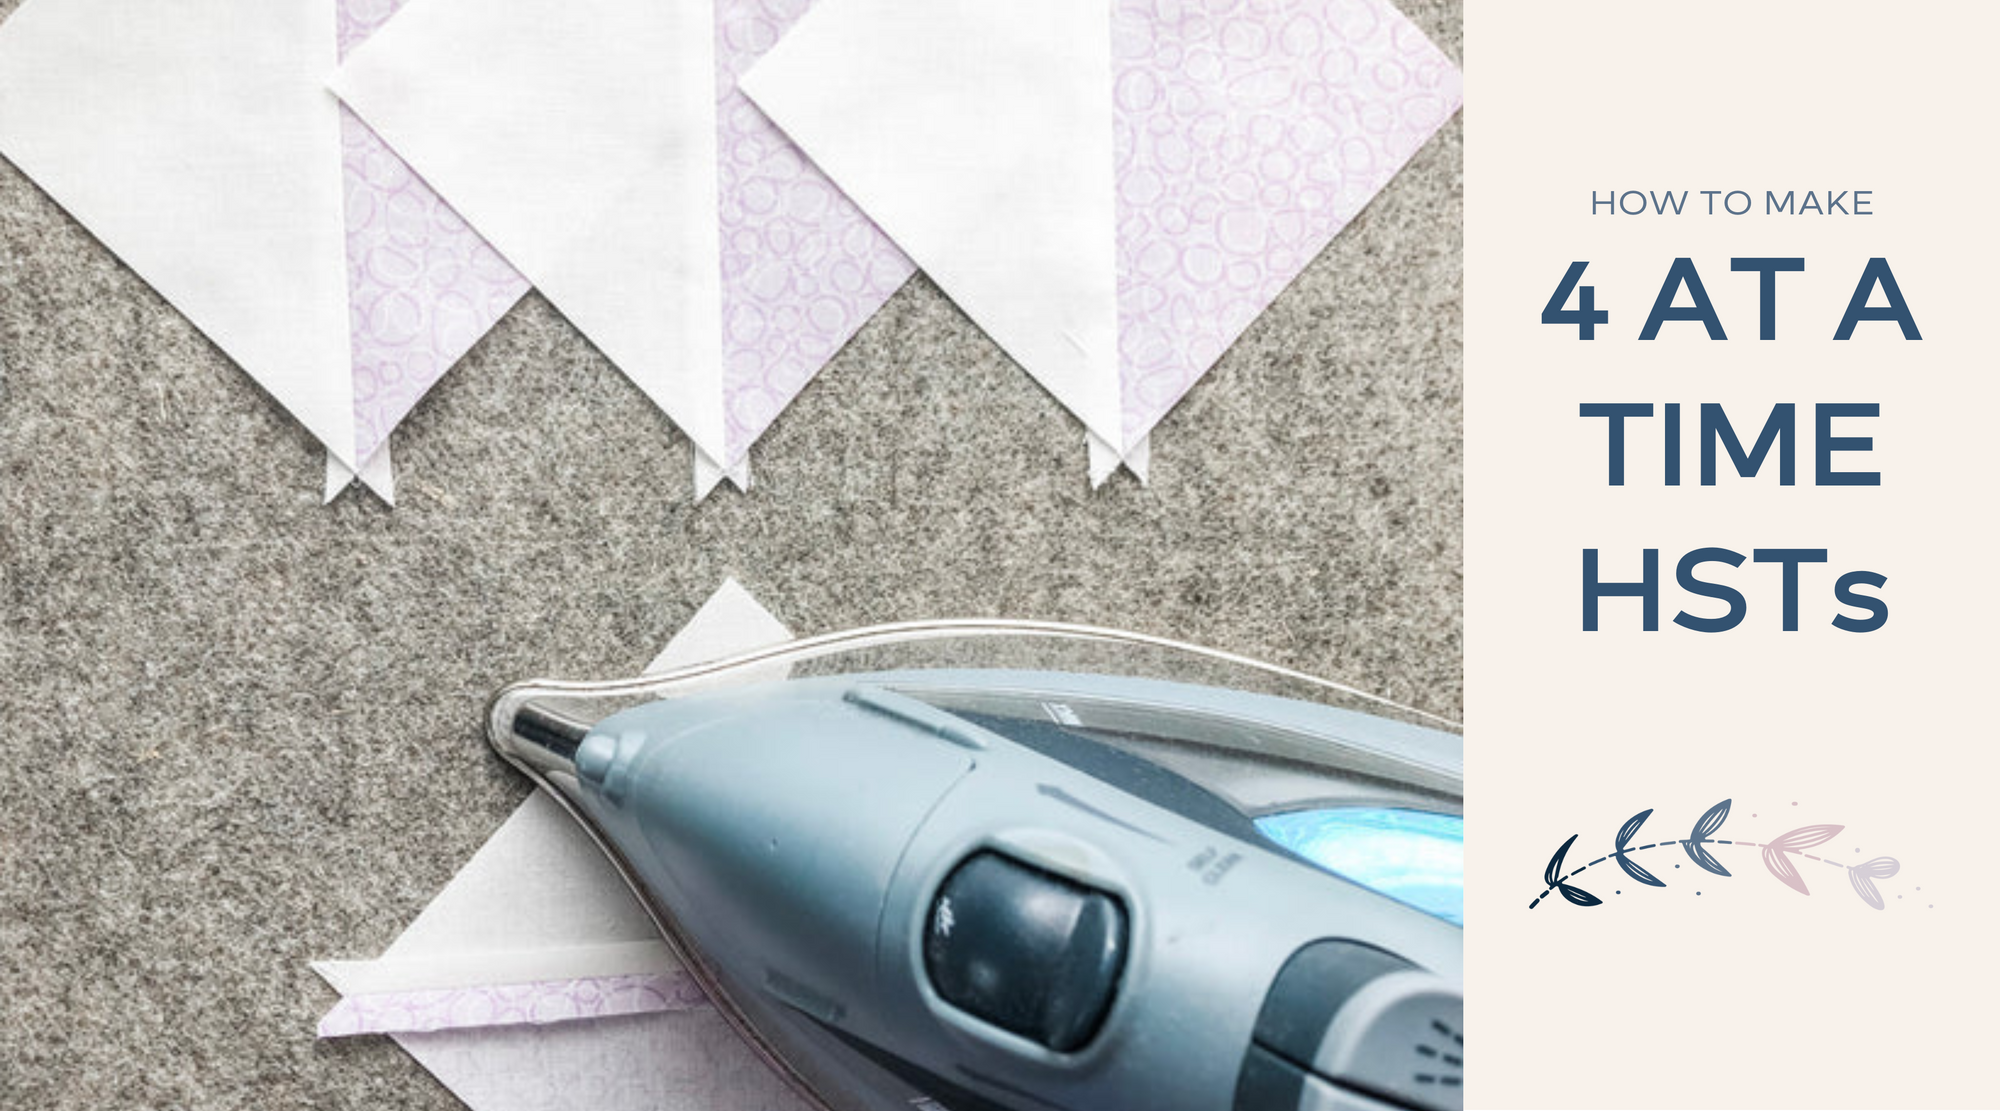
Press seams open or the side - whichever you prefer - but be careful to lift the iron in an up and down motion to prevent distortion of the blocks.

They come out a little bit to allow you to trim them down to the appropriate size.

That’s it! You’re finished!

Yep, I have a few final thoughts for you:
Download your reference guide, grab some fabric from your stash, and get sewing!