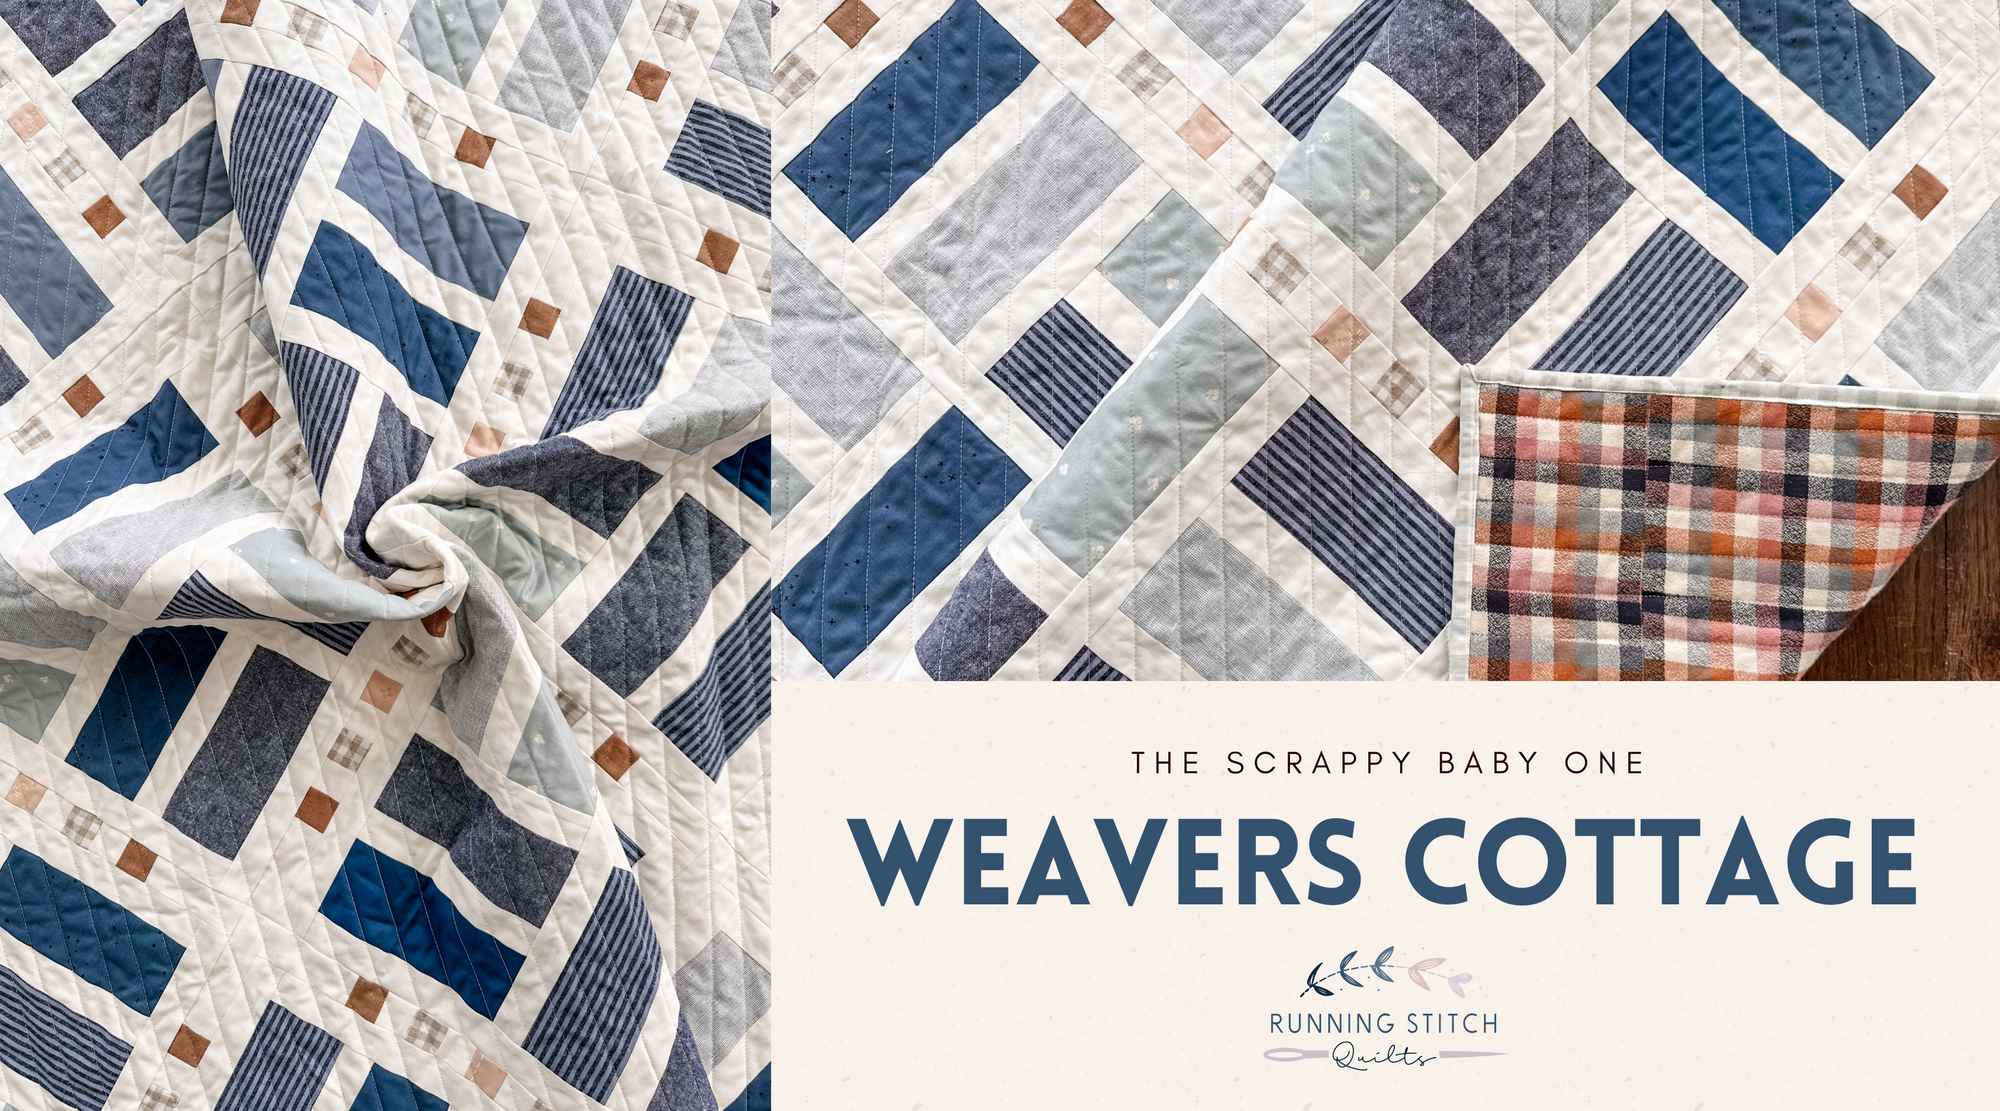
HEADS UP - All physical product shipping is on hold until mid-June!

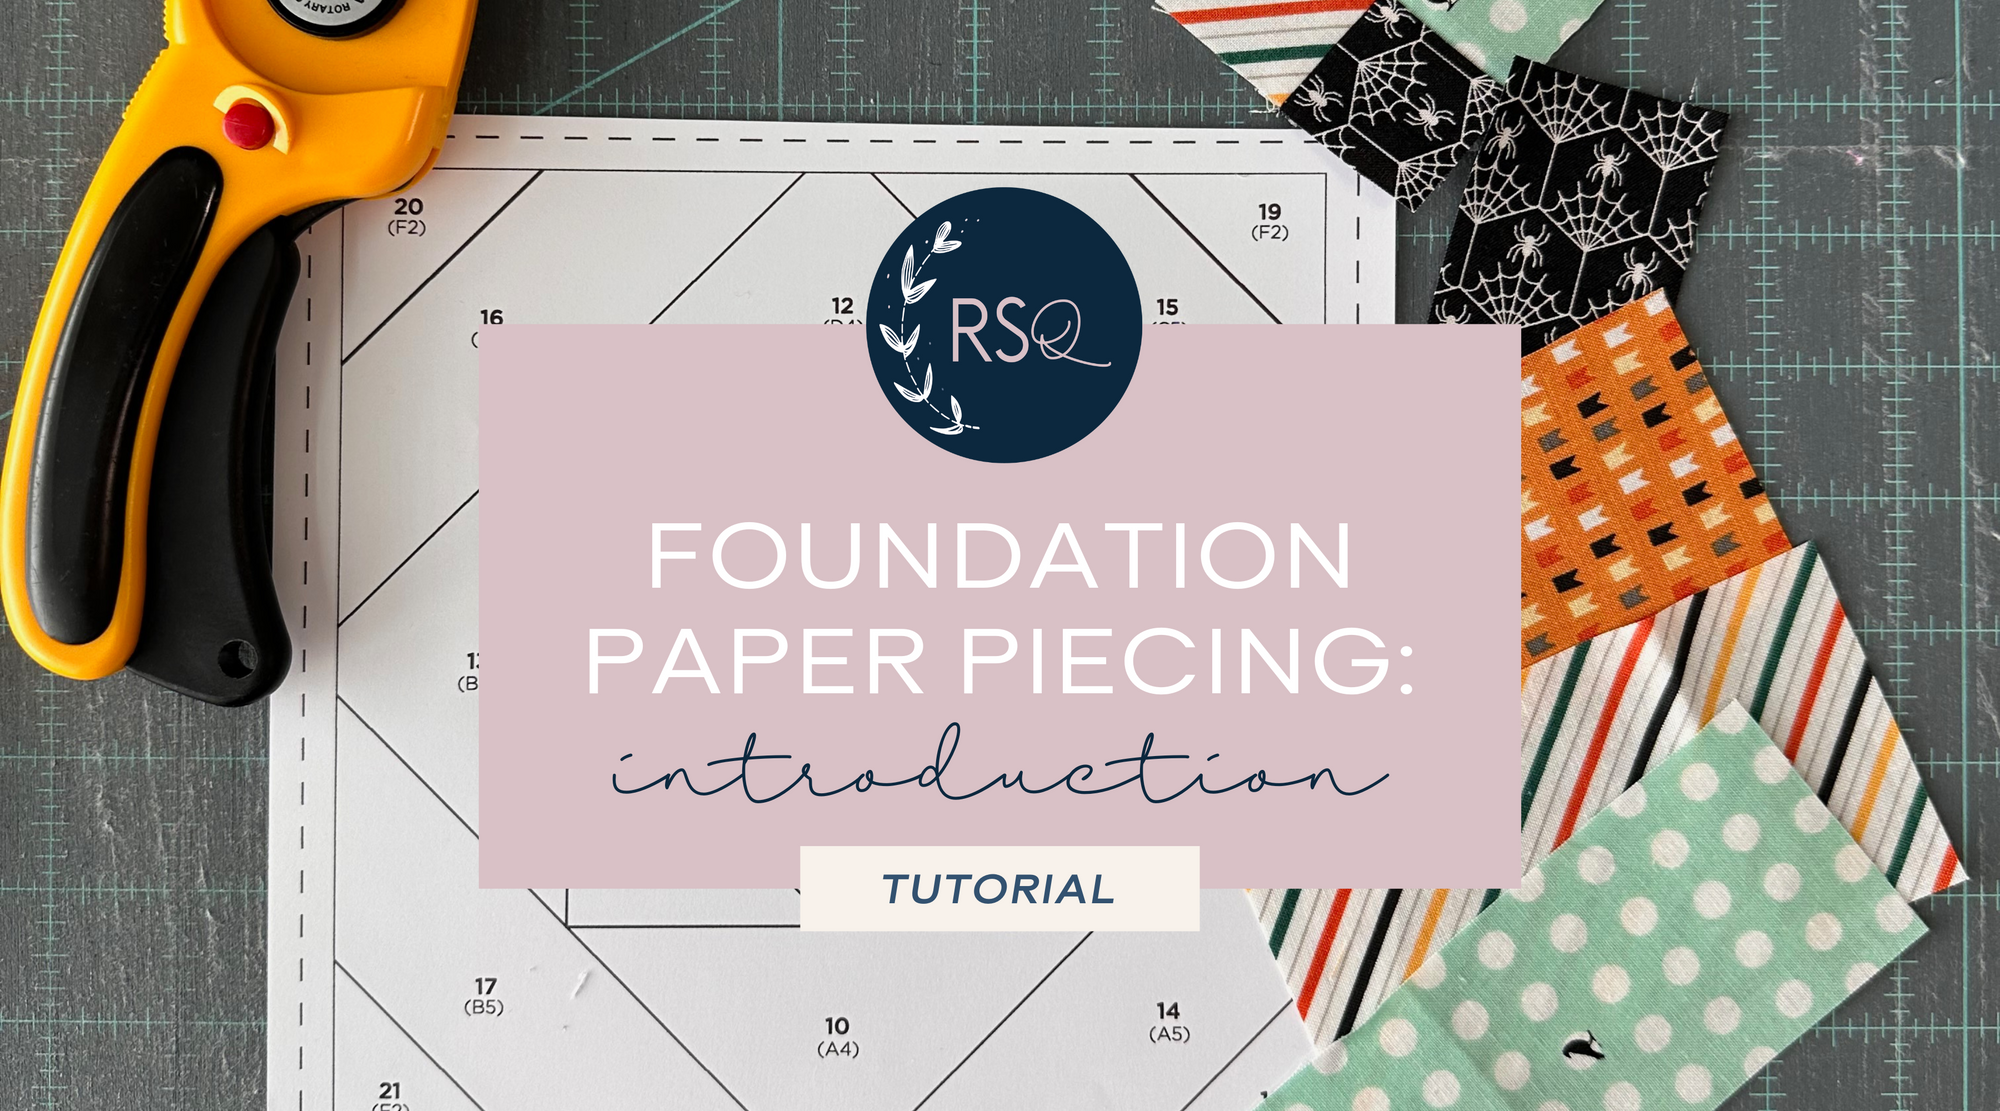
When I designed this years Spooky Season Sampler block, Hallowpop (it's a Halloween Lollipop...get it!?), I originally planned to use traditional piecing methods to make it. After a few attempts and some frustration at my less than perfect points, I finally admitted defeat. I was going to have to use Foundation Paper Piecing (FPP) to get this block to work.
Don't get me wrong, I don't have anything against FPP, but it is one of those skills that I don't use very often and I forget about it. Which is a shame because FPP gives you increased accuracy when working with smaller pieces. I made a few test blocks when writing Hallowpop and I had perfect, pretty points every time!
If you are new to FPP or just need a quick refresher before starting your next project, here is a my quick run down of how to make the Hallowpop block!

1. The very center of my Hallowpop block is a four-patch square. This part isn't FPP'd, so you'll need to traditionally piece it first. Press open!
2. To start the FPP part of the block, you first need to place the four-patch on the WRONG SIDE of the template. I use a pin in the very center of the four-patch to line it up perfectly with the very center of the template. Then I use two additional pins to keep it in place.


3. Following the number order on the template, place the next piece of fabric (in this case, A2) on top of the four patch RIGHT SIDES TOGETHER. You want to make sure that you have at least 1/4" over the template line because that is your seam allowance. Holding the block up to the light can help confirm. When you are sure of the fabric placement, pin in place.

4. Flip the block over, and sew directly ON the solid black template line being sure to start and end a few stitches on either side of the line. Helpful tip: shorten your stitch length to 1.2 - 1.5mm. This makes it easier to rip the papers out at the end!

5. Fold fabric over and press seam!

6. Repeat the process following the number order on the template.

7. After sewing a seam, fold the template back at the line you just sewed. Line up the 1/4" mark on the ruler with the folded edge, and cut any off any excess fabric.


8. Continue following the numbered steps on the template until complete.

9. Trim block making sure to leave the 1/4" seam allowance on the outside edges. In this template (and most templates), the dashed line is the seam allowance.


That's it! Repeat the process with two make two lollipops, then follow the pattern to complete the block!