HEADS UP - All physical product shipping is on hold until mid-June!


When I bought my first sewing machine, I didn’t really have a plan for it. I vaguely thought making a quilt would be fun, but the sewing machine itself was a spur-of-the-moment purchase. I took the sewing machine home, learned how to thread it, learned what a bobbin is, and then searched Pinterest for a good beginner project.
Pinterest came through with a free tutorial for quilted pot holders, and decided to make them. I went back to the craft store to buy fabric and thread. Then went back again for a rotary cutter. (Yes, I tried to use scissors at first. No, it did not go well.) Then I went back again for straight pins. You get the idea. I had no idea what I was doing.
Back then, I would have loved a list of all the things I would absolutely need when starting my first project. Not the fancy/trendy/fun notions, but the ones that were actually essential to the quilt making process. So, that’s what I’ve made for you: a list of the absolutely essential tools for quilting without any of the extra fluff. I even made a handy checklist you can take to your local quilt shop or craft store so you don’t have to make multiple trips like I did.
Let’s get to it. Here are the essential tools you need to make a quilt, from the obvious to the not so obvious.
I told you, obvious. Yes, you could hand sew a quilt, but that’s a different discussion for a different day. You don’t need a fancy machine that costs thousands of dollars. When I first started quilting, I had a $200 Singer that I bought at Joann’s. It got the job done! It was a reliable machine that I used for about a year. By then, I knew I was going to stick with quilting as a hobby, so I upgraded to a fancy machine.
If you don’t have a sewing machine and are in the market, I would highly recommend going to your local quilt shop and trying out several before choosing. Having someone show you how they work is really helpful. Unless you know you are going to continue quilting, all the fancy, extra features aren’t necessary, but I would recommend getting a machine that has the needle-down feature. The needle-down feature keeps the needle down in the fabric when the presser foot lifts. This is helpful when chain-peicing and moving the quilt around when quilting.
You may also need: a 1/4″ guide presser foot. While not essential, I do think it is helpful in maintaining an accurate, straight seam allowance.
Personally, I do not prewash my fabric, but I do prep the fabric by starching and then pressing it. Starching the fabric before cutting into it makes it a little stiffer. Plus, it frays a little less, and it is generally easier to work with. I use this starch because I can get it for a couple bucks at the grocery store. It works well, and it smells nice. Many quilters swear by Best Press, but I find regular starch works just as well and it’s cheaper. Win-win.
The iron will be necessary to press your seams. Any hot iron will do. You will need something to iron on top of, and that’s where the ironing board comes in.

Sure, you could use scissors, but it would take longer, your cuts wouldn’t be a smooth or accurate, and it would probably make your hand hurt. A rotary cutter and self-healing mat is a must. Get the biggest size mat you can afford, but I’d recommend at least 18″x24″. As for the ruler, a I would recommend the 6″x24″ size. These sizes will serve you best so you can easily work with a fat quarter or yardage folded in half without having to move the fabric or ruler.
I use Olfa brand rotary cutters and mats, and Creative Grids rulers. I like the Creative Grid brand for rulers a lot. They have textured spots on the backside to help prevent the ruler from slipping.
Straight pins are used for pinning your quilt blocks together when sewing them. This keeps the fabric from shifting under the presser foot and makes sure the seams match up nicely.
Pinning your blocks together before sewing them does take a little bit of time, but in my opinion, it is time well spent to ensure better accuracy. Also, having to rip out seams is a pain in the butt, so if I can do a little more work on the front end to avoid that, I will.
You may also need: pincushion or magnetic cup to store and easily access pins while sewing.

Once you have your quilt top completed, you will need to turn it into a quilt. Basting is the method to keep all three layers of your quilt together while you are quilting it. Doing a good job of basting your quilt is important to prevent puckers or wrinkles as you quilt the quilt.
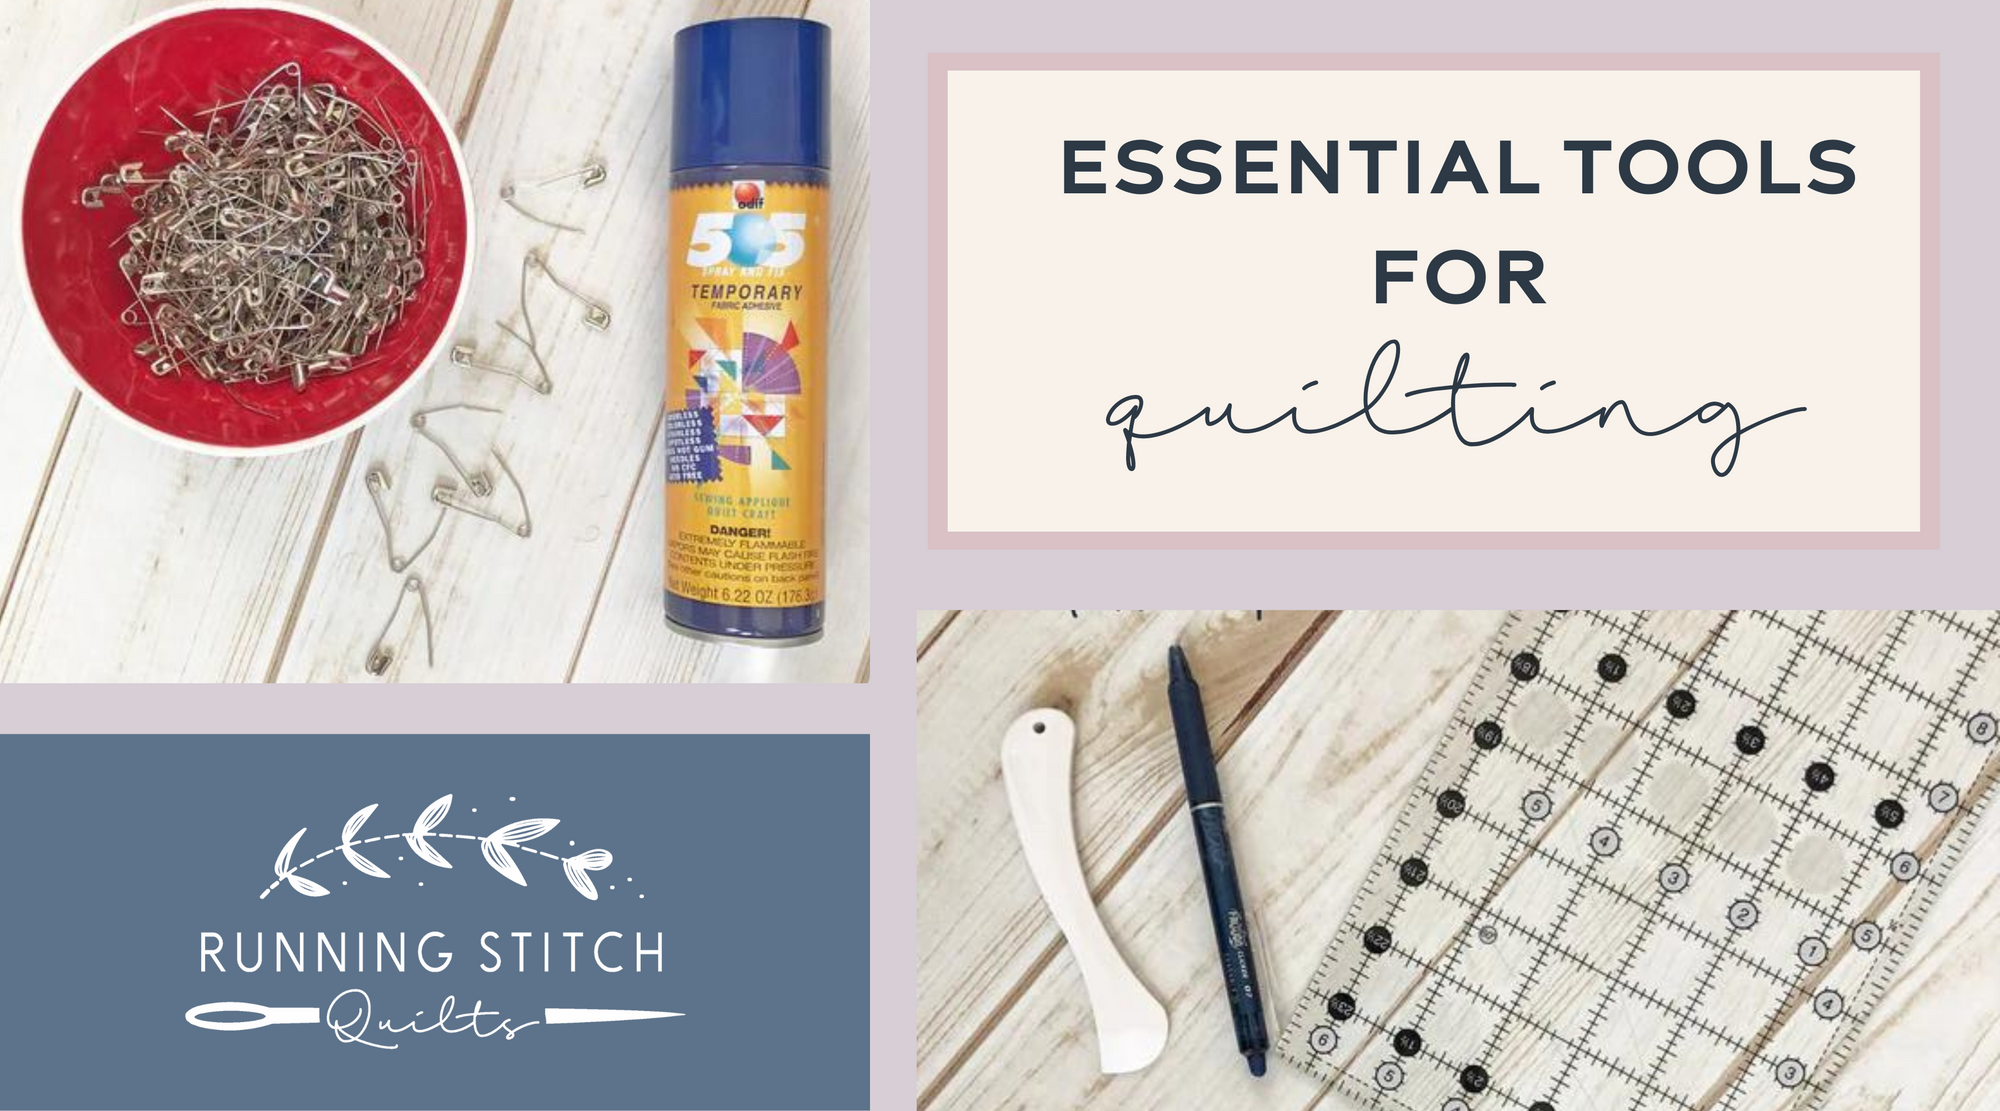
There are two ways of attaching the layers of the quilt together. The first way-and my preferred method-is to used curved safety pins. The second way is to use a sticky aerosol glue called spray baste. The pros and cons of each could be its own blog post. But, in short, the main reason I prefer to pin-baste is that spray baste is expensive, and you only have to buy the pins once.
Yep, that low stick blue tape. Get the 2in width if you can.
This has so many uses. First, it can be used to tape of a 1/4″ seam allowance on your sewing machine if you do not have a special 1/4″ presser foot. Secondly, it can be used to tape the backing fabric to the floor while basting the quilt. Thirdly, it can be used to tape off lines on the quilt as a way to mark where to quilt it. Fourthly, it can be used to tape the finished quilt top to the wall so you can take a straight on picture. Basically, its uses are endless. I like to have it on hand…just in case.

I use two different tools for marking. A Frixxon pen and a Hera Marker.
I like Frixxon pens, but I only use them during the block assembly phase, like when making Flying Geese or Half-Square Triangles. I don’t use them on a finished quilt top. The cool thing about these pens is the ink disappears when exposed to heat. Therefore, a quick press of a hot iron on the fabric, and the ink is gone! Full disclosure, there has been some conflicting results with quilters reporting that the ink does not completely disappear or returns when the quilt is exposed to extreme cold. So, for that reason, I don’t use them on the quilt top. I don’t want to risk ruining my quilt. That’s where the Hera marker comes in!
A Hera Marker is fabulous. It’s a plastic, knife shaped tool that leaves a crease mark in the fabric when pressed into it. It can be used to mark sewing lines when you are making the blocks, and it can be used to mark quilting lines on the completed top. Unlike Frixxon pens, it doesn’t leave permanent marks on the fabric. The crease line goes away after a while or when the finished quilt is washed. It’s the best. I find that lately, I have been reaching for my Hera marker more often than my Frixxon pens.
There are tons of marking tools available (water soluble, chalk, etc). No matter what you choose to go with, please please please be sure to TEST IT on a piece of scrap fabric to make sure the mark completely disappears before you use it on your real quilt. On the other hand, just get a Hera marker and call it a day!
Again, stating the obvious here.
Whatever pattern you choose, it will list the fabric requirements needed for the quilt top and backing. If you need an easy beginner pattern, might I suggest this one. Simple patchwork squares make it perfect for beginners, and it makes a wonderful wall hanging in any home.
A quick note about fabric quality: the fabric you find at big box stores (Hobby Lobby, Joann’s, Walmart, etc) is a slightly lower quality than the fabric you will find at a quilt shop. That’s not to say you shouldn’t buy it if you find a print you love at one of these stores! Just be aware, the fabric from these stores is a little thinner and stiffer. I’ve purchased plenty of fabric from Hobby Lobby, and I’ve never had a problem though.
The most common batting types are 100% cotton, 80/20 cotton/polyester blend, and wool. My personal favorite is Warm N Natural 100% cotton. You could also use something a little unconventional like flannel. When choosing your batting, take into consideration what you plan to use the quilt for and the weather where you live. If you live somewhere really cold, using a wool batting might be worth the investment (as it’s more expensive) because it will be warmer. If you intend on making the quilt for a baby, 100% cotton might be a better option because it washes easier than wool. Talking about how batting effects the quilt could also be a separate blog post, so I’ll stop here. Haha!
Download your checklist, pick a pattern, and head to your local quilt shop or craft store to stock up on the essential tools for making a quilt!
Experienced quilters, is there anything else you would add? What tools do you consider essential for making a quilt?
This post may contain affiliate links. Please read my disclaimer to learn more. Thank you for supporting Running Stitch Quilts!